Quick Overview
In this tutorial, we are going to be covering the Microbit V2 Go board and we’ll be discussing some of the problems that I have faced and also how to install and run an application using TockOS.
Introduction
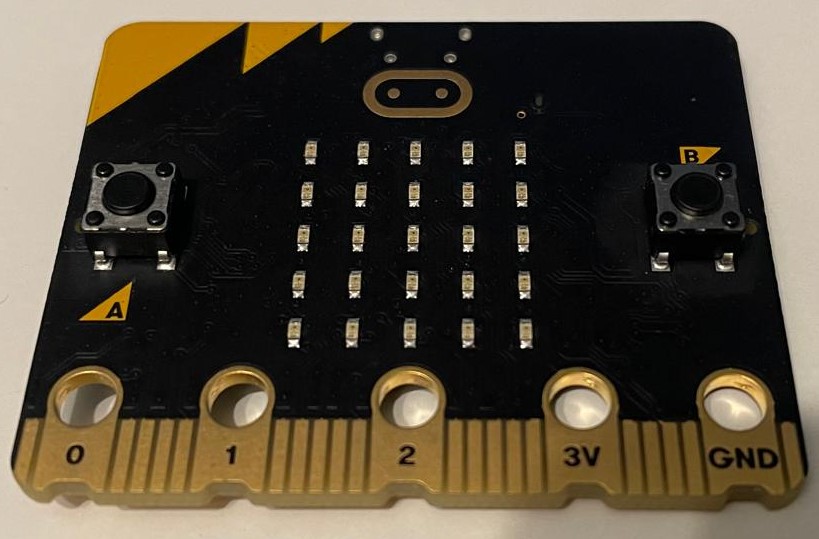
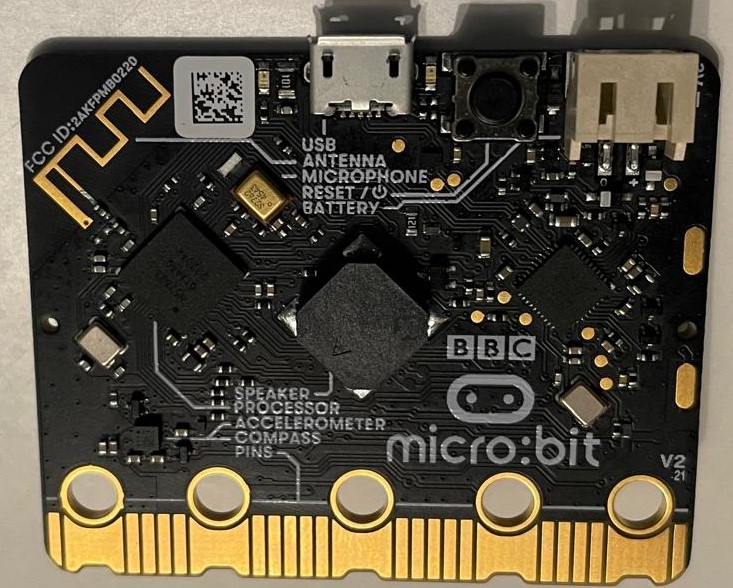
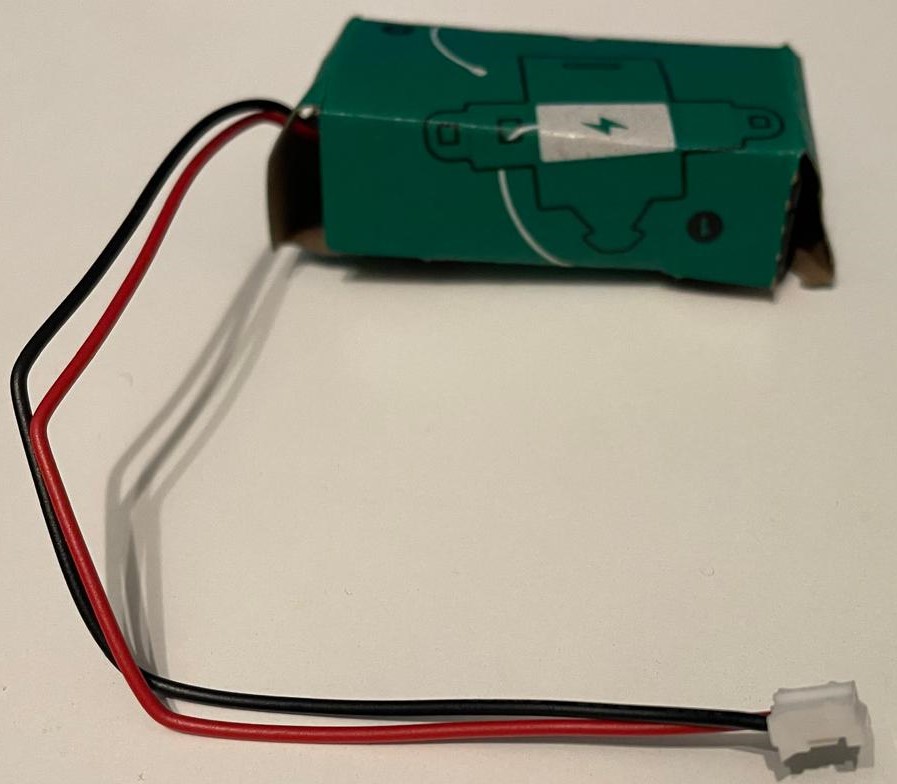
First, we’ll be covering what we get out of the box and that is the battery and the board. If you want to connect to it, you just need a micro usb cable (which is not included).
Micropython and Micro:bit IDE
In order to program this board, there are many different methods. The simplest one is just using the IDE and downloading the compiled .hex file. After that, just move the file into the MICROBIT drive and it will automatically flash it for you. As for the programming side, you can either use their block based scripting or micropython, which is mostly python but for embedded systems.
Flashing from CLI
Because I’m a stubborn person, I wanted to be able to flash my program from the CLI on my Kali VM. Firt issue that I ran into is that I forgot to add my USB device in Virtualbox.
In order to do that go to Settings -> USB -> Choose your device from the plus icon and you’ll be good to go.
Second issue that I ran into is that my vm doesn’t automount the drive so you have to do that manually. Use lsblk to see the name of the partition and then go the /dev. To mount the partition, create a directory in /mnt and name it to whatever you want. After that just use mount /dev/<partition-name> /mnt/<your-directory-name>. You should be good to go now.
Unfortunately, I still faced another issue, and that I is, I’ve tried to flash as normal user, and so I had to change the permissions on my serial device (ttyACM0 in this case) ->
chmod 666 /dev/ttyACM0
Now that we got through all the possible issues that you might have, let’s go through one example of a script that you might want to flash onto the board.
from microbit import *

while True:
    display.show(Image.HAPPY)
This will display a happy face using the LEDs. In order to compile it and flash it, I just used uflash. You can install it using pip:
pip install uflash
Now, if you need to go through the documentation I’ll leave a link here.
Fortunately, this tool both compiles our script and flashes it onto the board.
To do that just type:
uflash led_happy.py /mnt/microbit
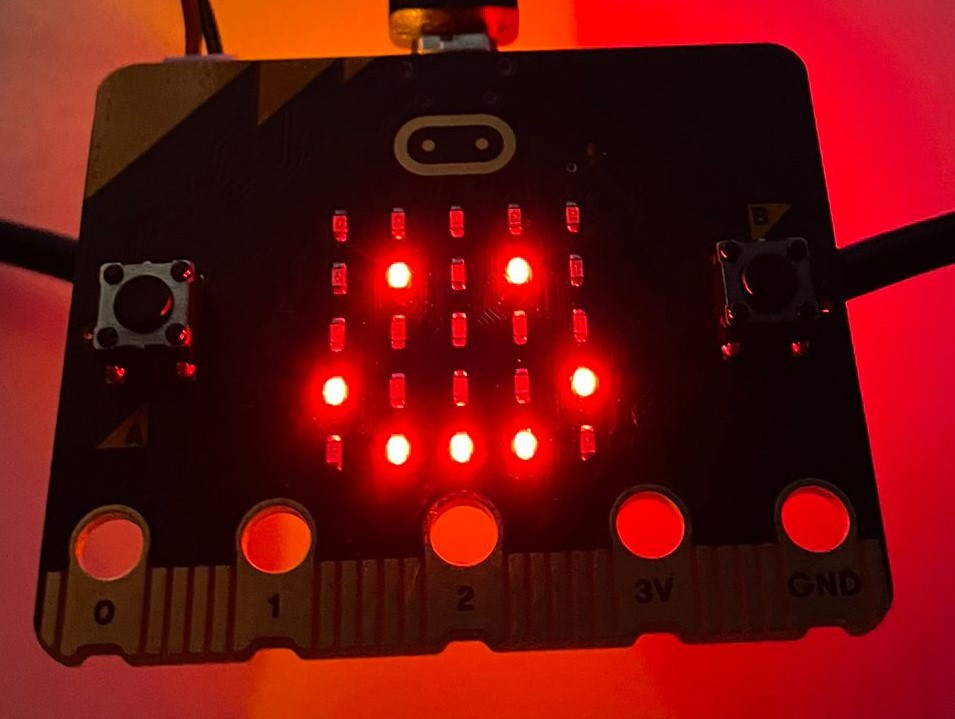
It’s pretty easy, isn’t it? Now let’s dive into how to upload the TockOS bootloader and kernel.
TockOS
First of all, TockOS is a secure embedded operating system for microcontrollers. In order to run application we first have to upload the bootloader and kernel. Then, they have many examples of application that we can run in order to test if it’s working. I’ll leave the setup for the board here, but I’ll also be going through it right now myself.
Upload Bootloader
After you do the quick setup, you can just clone the main repo and cd into the microbit_v2 directory. Then, to upload the bootloader, you just need to type in:
make flash-bootloader
and it will automatically wget the already compiled bootloader from the github and flash it onto your board.
Here, I had a small problem with the Makefile. It might just’ve been me with this issue, but just so other know, I had to modify it by removing the
--verifyswitch and instead add--pathone.
Uploading the kernel
Before uploading the kernel, make sure you’re in bootloader mode. To enter press and hold the A + Reset buttons. When the microphone LED turns on you’re good to go.
Also, make sure you have tockloader installed.
To upload the kernel, you’re going to use make again, just with program, like this:
make program
Then it will automatically flash it for you.
Installing and running Apps
To install and run apps make sure you have tockloader installed. To get it just use pipx:
pipx install tockloader

pipx ensurepath
Then, you can just download the blink default app like this:
tockloader install blink
and it will automatically flash it onto the board.
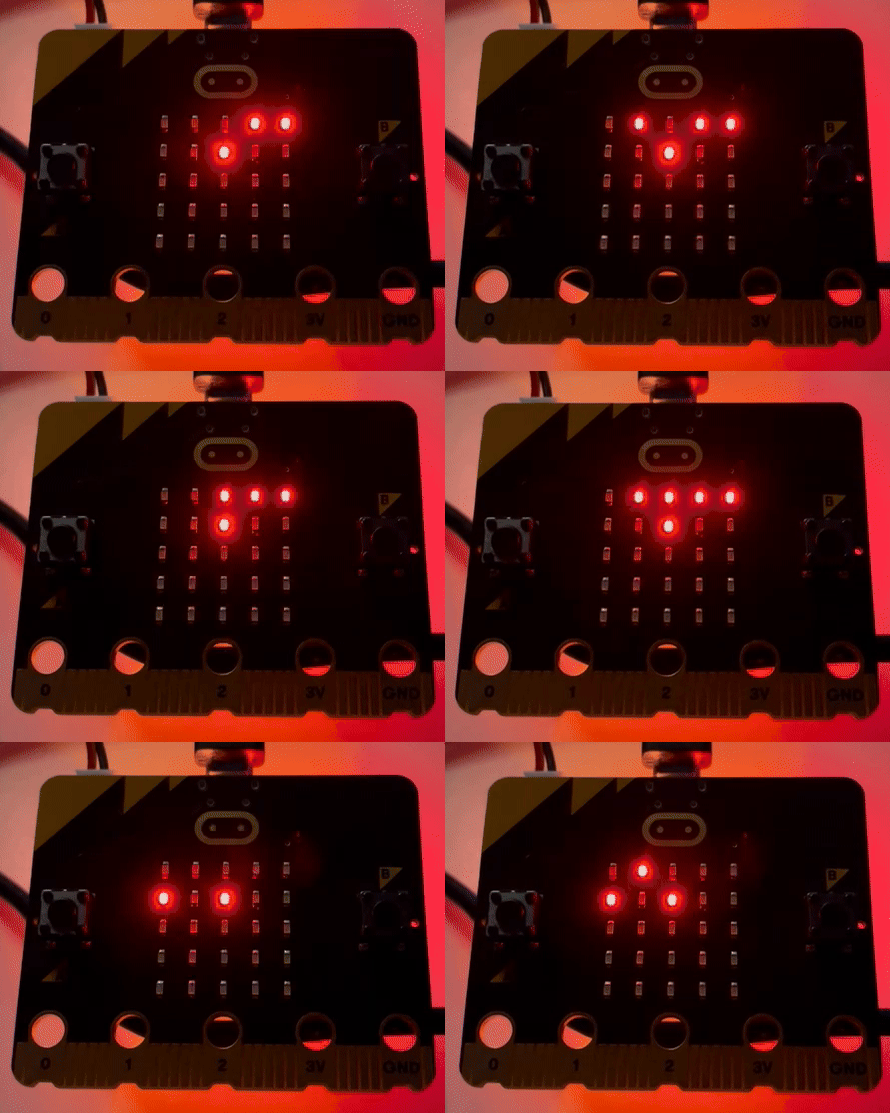
Conclusion
That’s mostly it, hope you liked the post about this new stuff that I got and I hope it might help you save a couple of hours troubleshooting.
